Here are the changes I made and a few additional tips to share….
I grabbed any “chips” I could find in the cupboard, hoping the flavors would just speak to me. Butterscotch? Cinnamon? White choc. chunks?
 My first thought was to break the recipe in two so I could try multiple variations. But I have a tendency to try too much at once, so I reined in the ideas and kept it simple.
I followed Vanessa’s 3 ingredient recipe using one bag of semi-sweet choc chips and replaced the Andes mints with a bag of Butterscotch chips (you could also use peanut butter chips and it would be heavenly).
And there’s something magical about sweetened condensed milk. I’d never used it before and thought it would be runnier, like evaporated milk. But it’s so silky rich.
 I placed the mixture in the microwave and decided to be conservative–heating and stirring it in 30-second increments since I’ve had chocolate burn on me in the past. After 3 minutes it was fine and great.
* If your oven tends to bake hotter than normal, I’d do 30-seconds at a time. Cause if the mixture overcooks, your fudge will be hard and chewy.
3 minutes produced the yummy photo on the left. It stirred around like a ginormous piece of hot candy, slipping in the bowl and smelling like 10,000 calories. And the flavor combo was tasty too, however…
* Next time I’ll use 1 1/2 bags of semi-sweet and only 1/2 a bag of butterscotch to get a darker chocolate flavor.
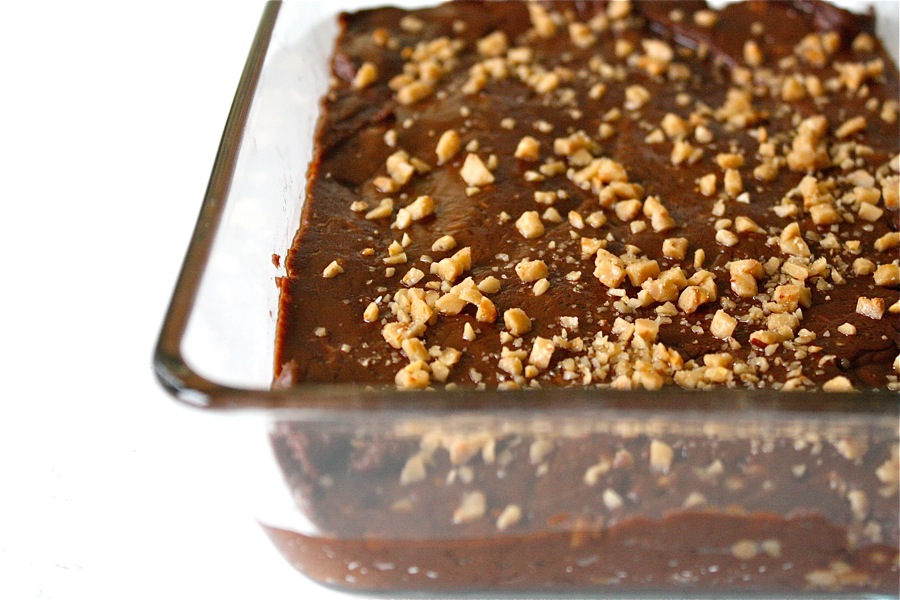
 Then I turned it up a notch by adding an entire bag of Heath Toffee bits, to give it a buttery crunch (it’s so much easier to buy the bag of bits than chopping up chocolate bars on your own).
* Save 1/4 cup of toffee bits to sprinkle over the top once it’s in the pan.
As Vanessa recommends, I used a 9×9 baking dish so the fudge would be chunky. Then I placed it in the fridge for 30 minutes to harden.
 And, done!
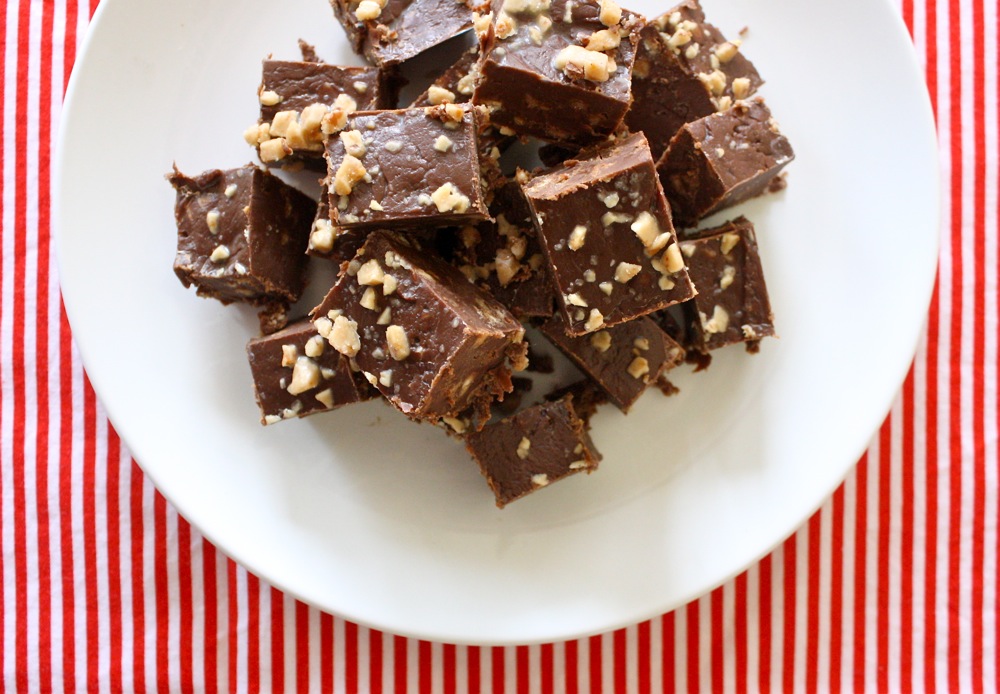
Cut the fudge into very small squares–a small bite goes a long way.
* I let the fudge sit out on the counter for 10 minutes before cutting and it required a bit of strength to cut through, but I think that’s normal of most fudge. I cut one row at a time and carefully slipped my knife around the edges and under the fudge to “pop” the candies out. They didn’t stick in the pan (since there’s so much butter in them) but they do did need a little wiggling to come out.
And there you go.

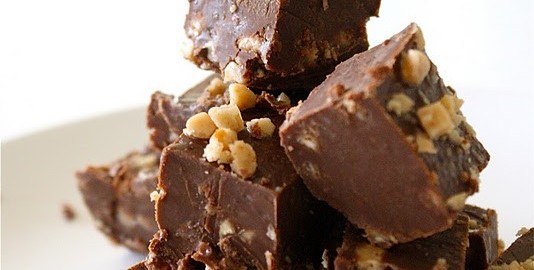
 I really, really loved the toffee crunch in these–probably my favorite part. It would also be yummy with nuts, other candies, marshmallows, fruit. So many options.
 I normally take food photos on days when the kids are both at school. But it’s kind of fun when Owen’s around so I can see his reaction to what I’ve just made. His eyes popped as he walked over and saw the mountain of chocolate chunks piled on a white plate.
“What? Is? That?!”
We both sampled a few.
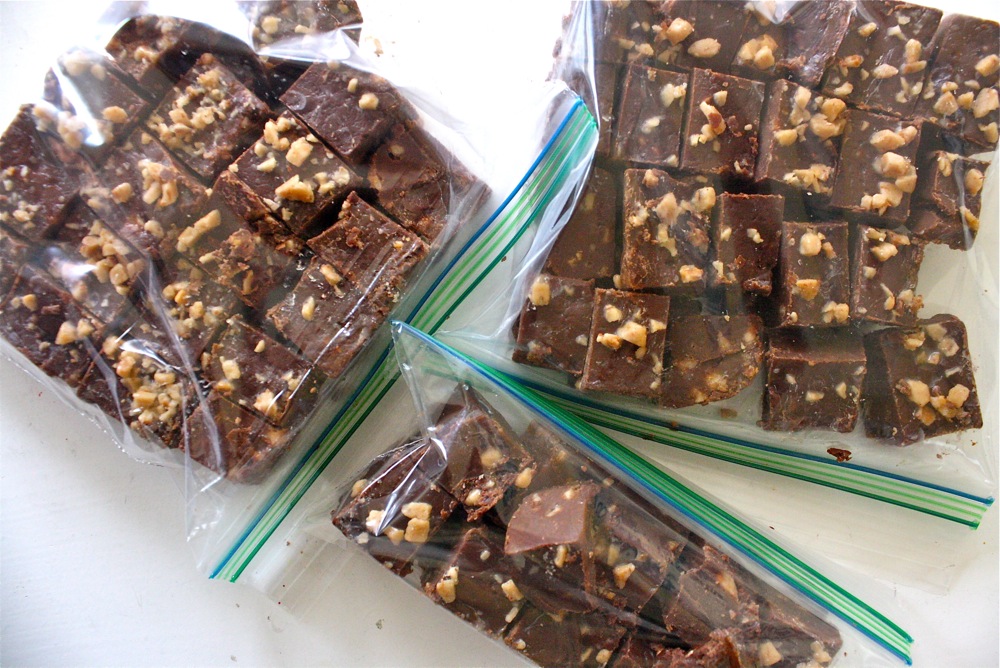
 Then I finished cutting the rest of the pan and placed them in double zip-locked bags so they can sit in our fridge without soaking up any fridge smells. I’ll hand them out this week to friends in a small box (with wax paper underneath) or in plastic candy bags.
 Maybe they’ll pass it around the breakfast table too.